So it is around one o'clock in the morning..oops, actually it is two thirty in the morning and I can not sleep. It only makes sense to go ahead and type of this lovely post in my bed while watching one of my favorite tv shows "Deadly Women". Have you seen it? It is pretty darn addicting.
Anywhooo. Moving on to what this post is about my first COSPLAY costume attempt! I am super pumped about starting my adventure into the costly world, and I figured I would take you all along with me. I will be posting work logs as I go about making my costumes, seeing what works, what doesn't and where I can improve.
I decided to do a My Little Pony Cosplay on the character Fluttershy. (I just want an excuse for a pink wig). I will be the first to admit I did love MLP when I was younger, but have no followed it since. However, I felt this would be fun and easy to do since everything is pretty basic and I won't waste much material.
Oooh.. yeah you like those amazing drawing skills that I have. It's okay to be jealous I know I would. No, but seriously I promise it looks so much better in my head. I decided to do a rough sketch of how I want everything to look, and to get an idea of the patterns and materials that I want to use. This is not anything really ground breaking I have seen tons of flutter shy looks like this but I wanted to add a bit more pazazz, and fluff to the look. Over time I have bought a few different pattern packets from JoAnns and Hobby Lobby but, I was not feeling the disney like dresses that I have for this look. (..actually my dog ripped up one the skirt patterns sooo there is that). So me being the oh so adventurous person I am decided to try the saran wrap technique of making homemade patterns.
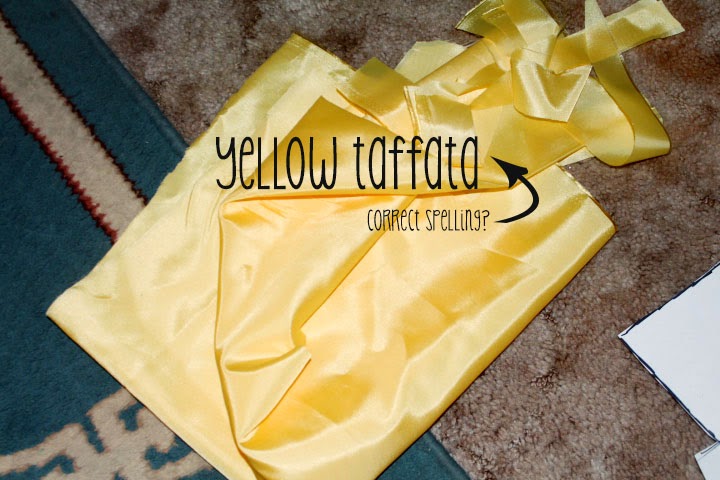
I did only two panels first, because well the first time I transferred the patterns I traced what I cut out. I completely forgot about adding seam allowance so I retraced and made it bigger. A bit time consuming. I'll post a picture in a later post so you can see. Fabric of choice taffeta <--haha I figured out the spelling thanks autocorrect. Now I forgot to mention I wanted to be either Fluttershy or Harley Quinn for halloween, I ended up being Harley simply because I had to make Fluttershy from scratch and was not feeling it. I also planned on using the costume dress patterns for this look and they recommend taffeta. In making and cutting out patterns be sure to always mark them ( I prefer numbering and drawing arrows) that way you know which is what and how to sew it together.
This is panels one and two sew together. I mean you have eyes you can see that. It fit nicely upon my side where they are suppose to go. I have two layers of fabric for each panel. In my mind this will make the top a bit more sturdy since I won't be using any boning or anything of that sort to help it keep its shape. We shall see if my theory is correct, I also think straps will play a part in it as well. I was so exhausted that I only did these two that day so thus ends this post.
I will have more work logs for you coming soon so stayed tuned.
Any suggestions, advice is welcomed.


No comments:
Post a Comment